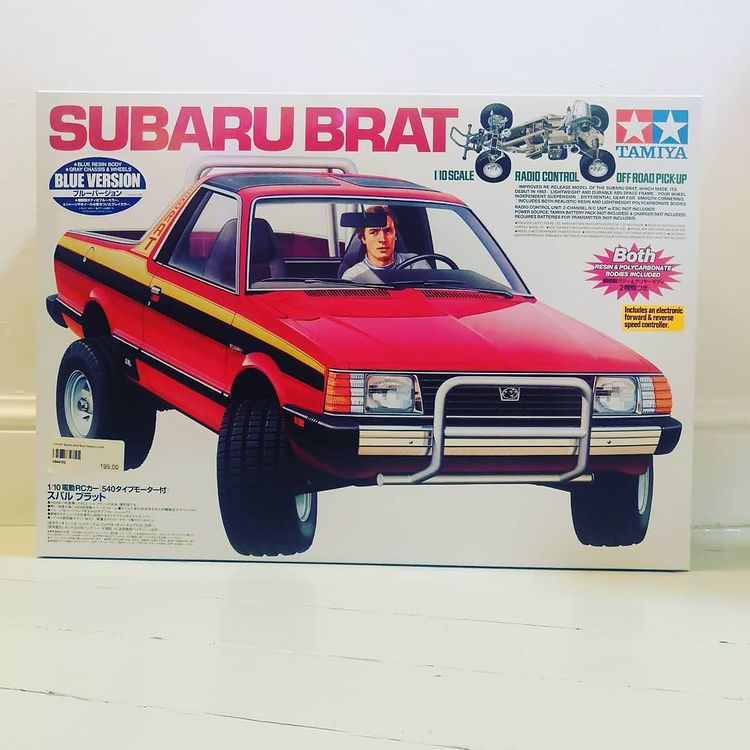
Tamiya Subaru Brat Re Release Review

First things first, this is not actually a vintage R/C. It is a vintage R/C remake. The original Subaru Brat R/C was first released by Tamiya in 1983. This R/C car is a semi realistic 1:10 scale model of the Subaru Brat that is a pick-up truck that was very popular in the U.S. in the 1970s.


I remember going to the local scale model store in the 80s and seeing these massive Tamiya cardboard boxes somewhere up on the top shelf. That was as close as I got to them at the time, but getting to assemble, drive, and own one was a total nostalgia trip for me. The KIT comes completely unassembled. You have to build it up from tiny nuts, bolts, cog wheels, axles, and plastic parts. There is a massive amount of bits and pieces, and it can be a bit overwhelming at first. You don’t really need any special tools, just some tiny screwdrivers, pliers and cutters.
This was my first R/C build, and I managed it without making any irreversible mistakes. The build can take several hours and requires a bit of patience, so it is not really suitable for young children. Personally, I took a meditative approach to the project, and the work spanned over a time of a couple of weeks. The kit came with two bodies. One is a super-detailed resin body for shelf display and the other is a lightweight durable polycarbonate body for racing. Painting and detailing the bodies can also take a bit of time, if You want to do it properly.


What’s Not Included
You need to order a couple of additional items to make the car run. The kit does not include a steering servo, battery and radio controller/receiver. And of course you need a charger for the battery, if you don’t have one already. You can expect to pay another 50 – 100 € for these components. The RC kit itself costs around 200 €. I chose a Maxam XT 16 package that included a radio transmitter, a receiver, and a steering servo. It’s nothing special, but seems to get the job done decently. Batteries also come in a variety of specifications. If You’re just looking for a safe and easy solution, a 7,2V 4000mAh NIMH battery is what you need.
Driving and Upgrading
The rear wheel drive, 540 motor, and the stock “street” style tires make the car challenging to keep straight on gravel surface. The steering mechanics have some slop also, which does not help accurate steering either. It’s not super fast compared to modern RC’s, but driving the car is really a lot of fun. It is fast enough to brake, if You run it full speed to a wall. Thankfully, You can adjust the maximum speed from the radio controller, which is what I do when I let my 5 year old son drive.
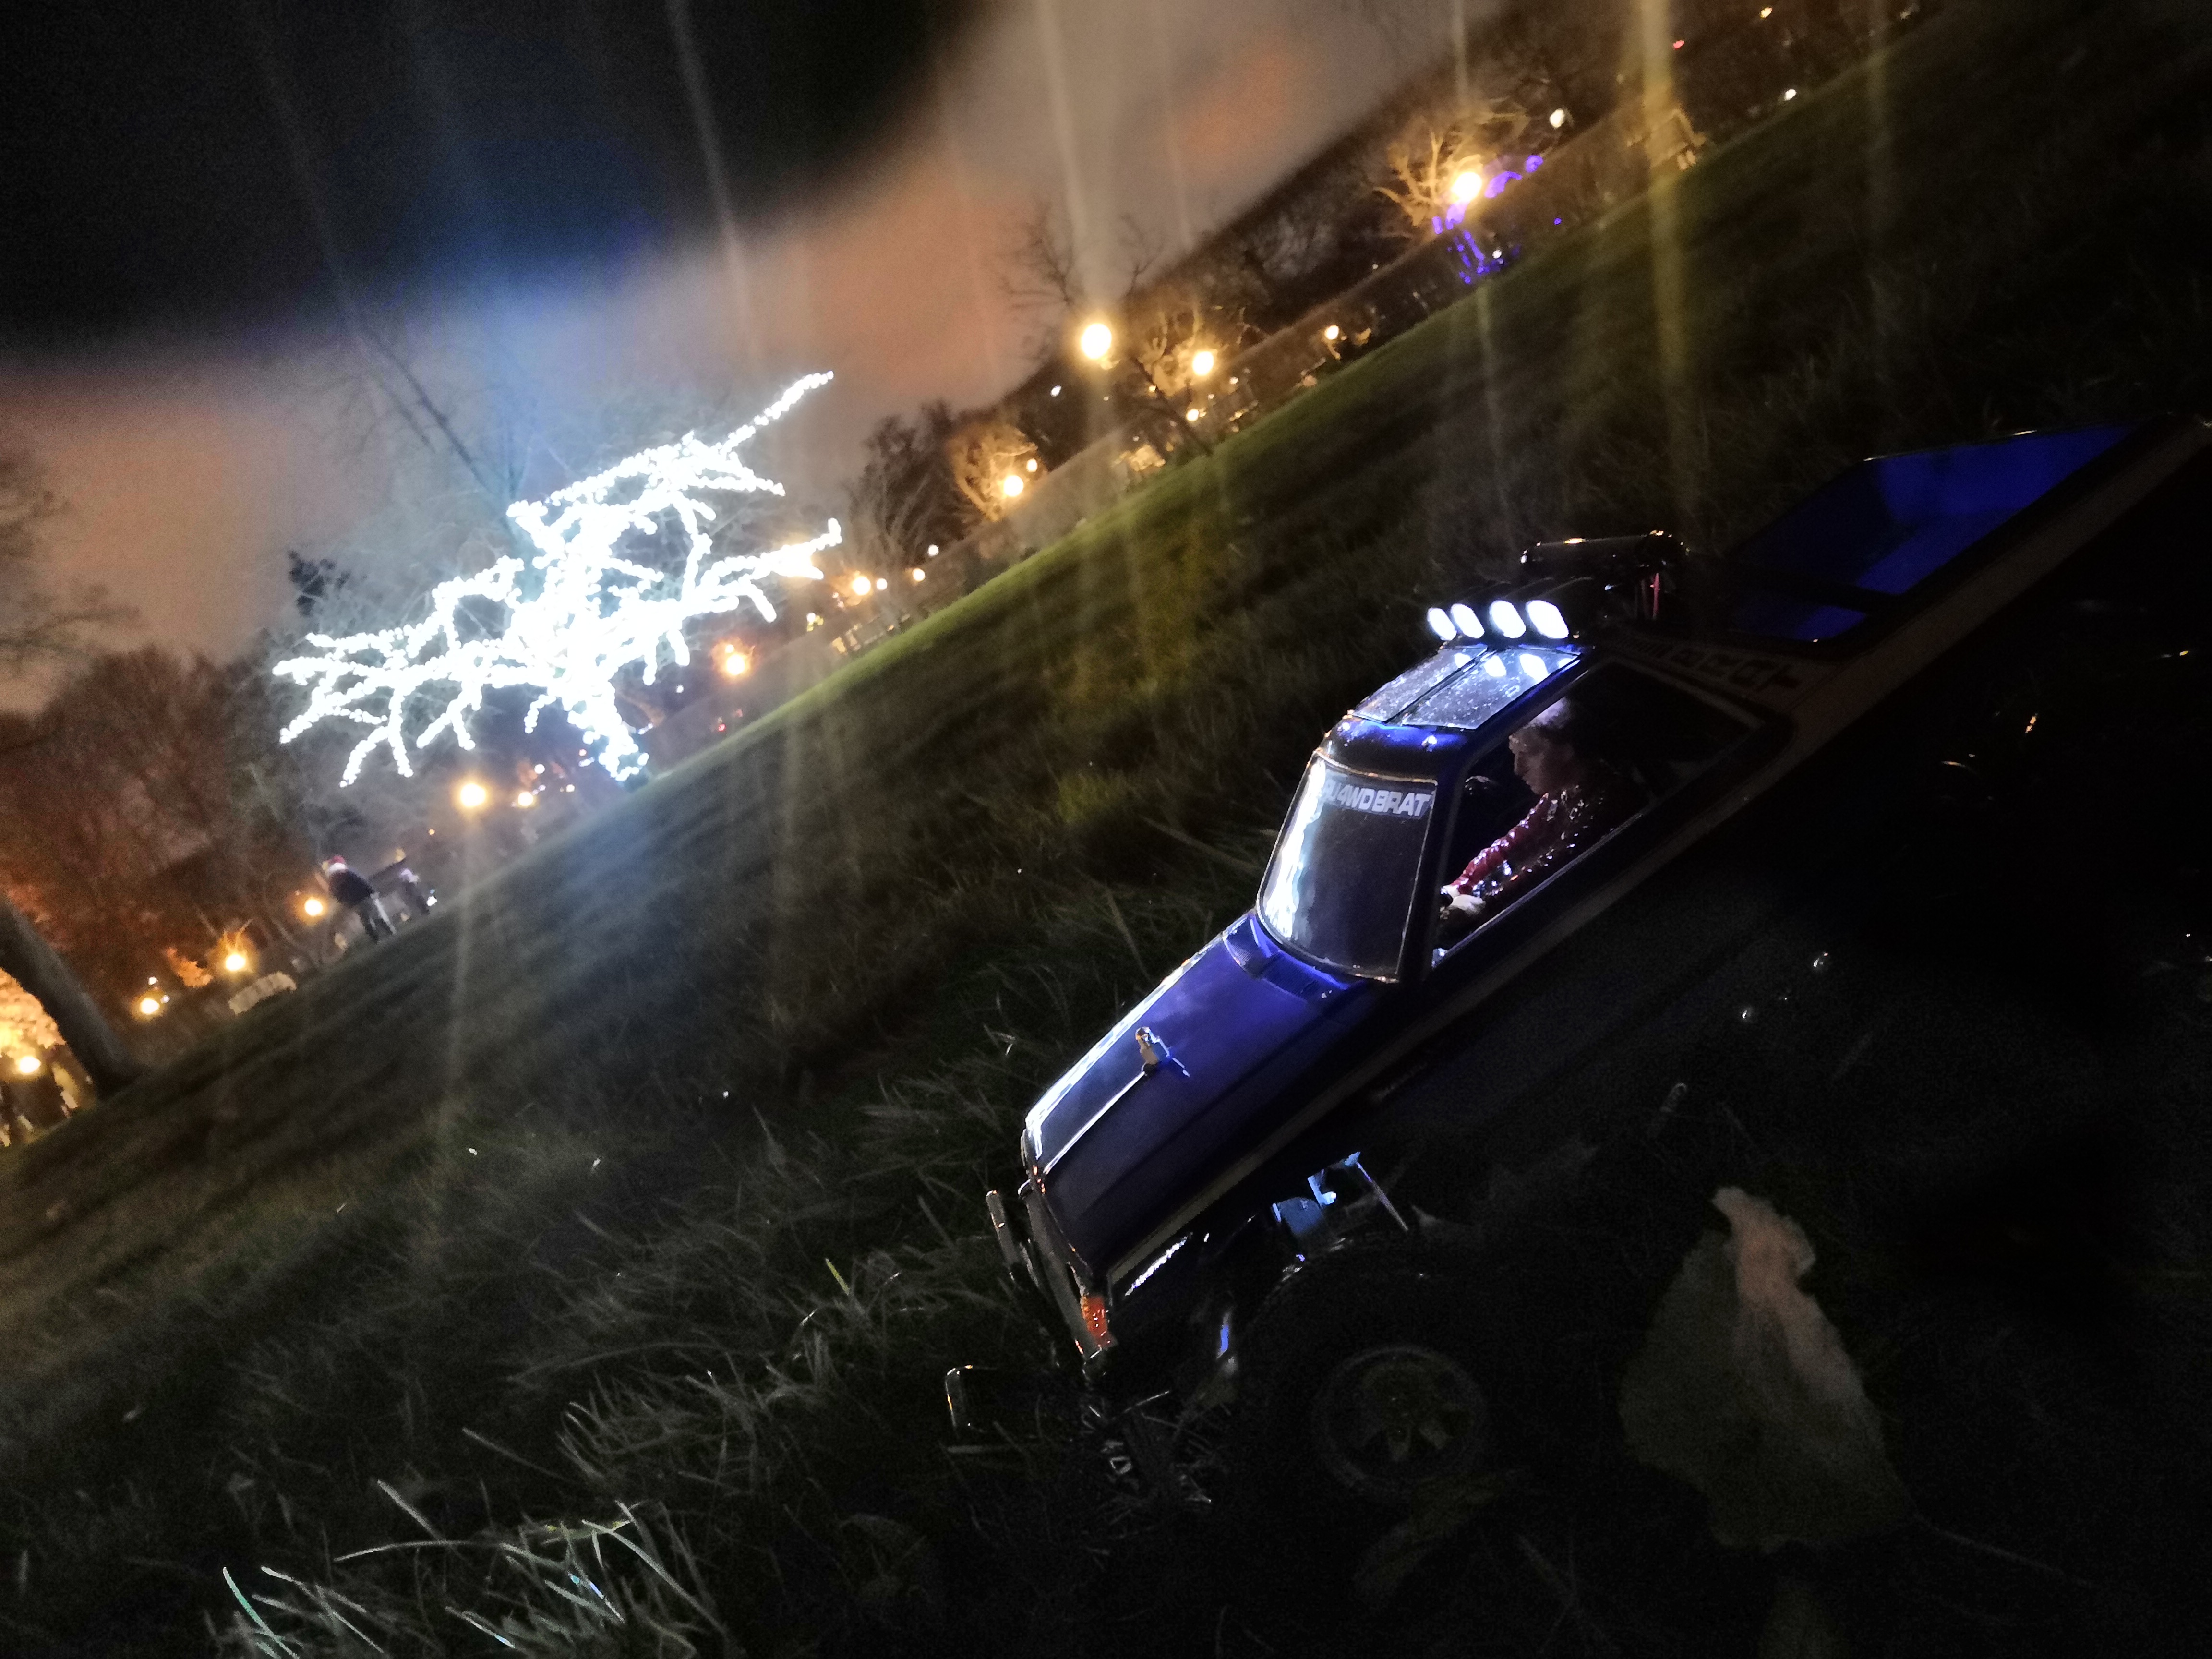
Part of the fun with these kit cars is the fact that they are easy to upgrade. My modifications so far have been modest. In order to improve the grip and steering, I swapped rubber studded wheels in the rear. The wheels are from the Brat’s “sibling” model The Frog that has the exact same chassis as the Brat. I also added some LED lights that make it easier to drive the car in the evenings, when it’s getting dark.
Update on Upgrades, July 2023
The first thing any RC hobbyist will tell you to upgrade or “hop up” on a retro Tamiya RC are the bushings. Bushings on these RC cars are small plastic rings that remove friction between moving parts like axel shafts and their contact points. The simple plastic rings wear out over time and are not optimal for performance. The bushings can be simply replaced with metal bearings. This is the correct set for a most Tamiya retro buggies, including the Brat, amazon.co.uk/dp/B08GQ1VXF1/ref=pe_27063361_487055811_TE_3p_dp_1. The metal bearings don’t wear out and they reduce friction – this means more speed with less power consumption. For the price of 10€-15€ it’s also the cheapest performance upgrade to start with.
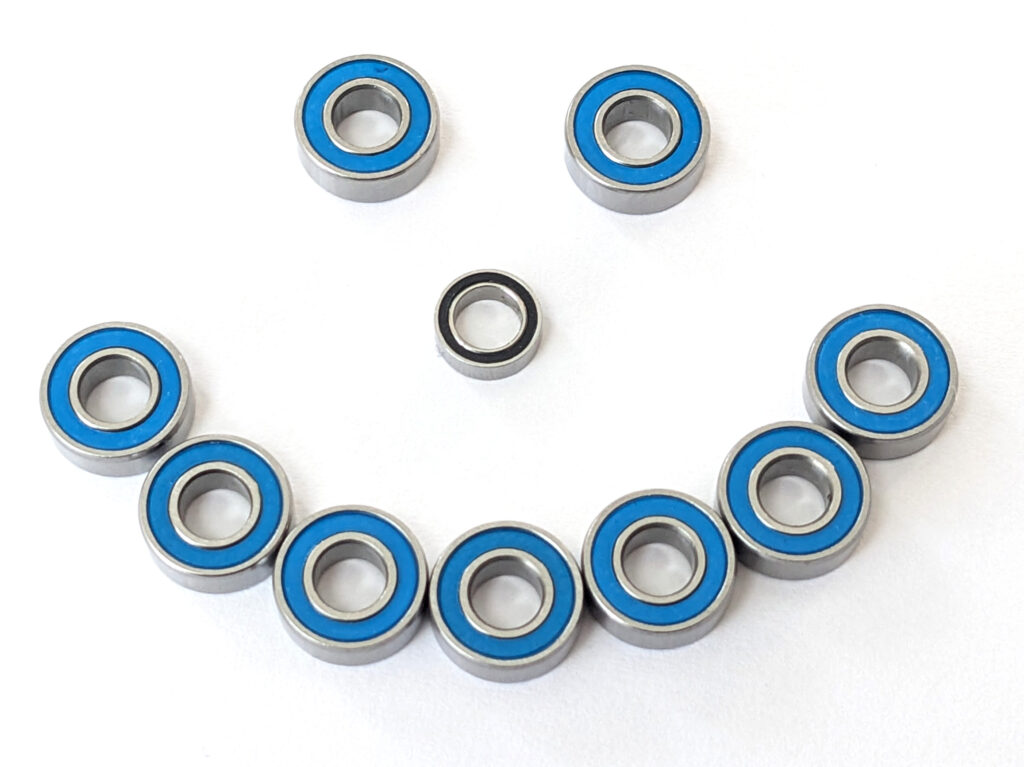
One thing that is not so clear out of the box about this upgrade is where to put all these bearings. I found 8 places to place the larger bearings. I am not entirely sure, where to put the small black one, and why there was 9 of the bigger blue ones. The same set is sold for a couple of other Tamiya models as well, so my best guess is that they are required for some of them? Anyways, installing the bearings on the front wheels is an easy job. The bearings go directly on the wheels. One on the backside and one on the front. This won’t take you five minutes. The rear is a bit more tricky. The third picture below shows the placement of the rear bearings. You have to disassemble most of the rear axels and suspension to get access to where the bearings go.


Front Suspension
The next thing you should consider upgrading is the the front suspension. Out of the box, the front suspension of the Tamiya Brat / Frog is only based on a pair of springs that are installed horizontally inside the front plastic parts of the car. This will provide a pretty bumpy ride, and especially if you consider upgrading the engine for more speed, you want the front of the car to be better planted on the ground, in order to have good steering.
To achieve this, you will need to replace the original springs with oil damper shock absorbers. Additionally, you will need to device some type of shock towers that connect them to the frame of the car. There are some components available for you to order online, like this aluminum kit from AliExpress.

I however, decided to opt for a more affordable DIY setup. I constructed my shock towers from a sheet of 2mm thick ABS plastic that you can get from most hobby stores or Amazon. ABS Plastic is cheap, durable and above all, it is very easy to work with. You can easily cut it and sand it into the desired shape.
For the shocks/oil dampers, I decided to go with the same original Tamiya shocks that the car has in the rear. I bought a pair from JK-RC. However, the front of the car is pretty light, so I replaced the original springs with a softer pair of springs I found from Ebay. The last thing I needed to complete this setup was a couple of M3 shouldered screws (3mm x 35mm). The ones I got from amazon were not quite perfect, the “shoulder part” that isn’t threaded is a tiny bit too short, but they seem to do the job.
The first picture of the gallery shows the original suspension on the left side and my DIY setup on the right.


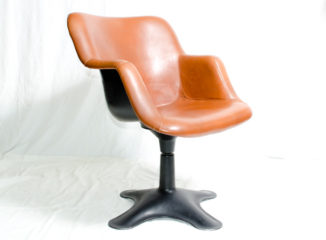
“Vino” chair by Yrjö Kukkapuro
Pohjola Armchair by Pekka Perjo